
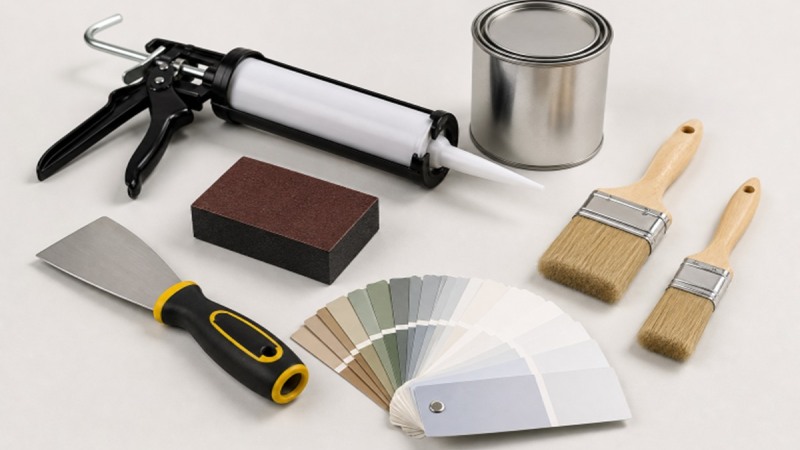
A durable exterior paint project begins long before the first coat is applied. Careful planning helps protect your home’s siding, trim, doors, and other exterior surfaces from the elements, moisture, and everyday wear while enhancing its overall appearance. From inspecting for damage to selecting the right products and preparing surfaces correctly, every step plays a role in achieving a finish that lasts for years rather than just a single season.
Many homeowners find it helpful to consult experienced exterior painters when evaluating surface conditions, choosing suitable coatings, and developing a realistic project timeline. Whether you plan to repaint the entire home or refresh selected areas, understanding the planning process can help you avoid costly mistakes, improve paint performance, and make informed decisions that keep your home’s exterior looking its best.
Why Planning Matters Before Exterior Painting
Exterior painting is a maintenance project first and a cosmetic project second. Paint cannot permanently hide rotted wood, failed caulk, active leaks, loose siding, or rust. Applying a fresh coat over those problems may improve appearance briefly, but moisture and movement beneath the paint can cause early cracking, blistering, or peeling.
A practical plan accounts for every painted feature, including siding, trim, shutters, windows, doors, railings, decks, and fences. It should also include the full work sequence: inspection, repairs, cleaning, preparation, priming, painting, cleanup, and periodic follow-up.
How To Inspect Your Exterior
Walk around the property in daylight and look closely at each elevation. Take photos and mark problem areas on a simple sketch of the house. This record makes it easier to create a material list, compare estimates, and confirm that repairs are completed before paint is applied.
What To Look For
- Peeling, cracking, bubbling, chalking, or fading paint.
- Soft wood, swollen boards, open joints, and damaged trim.
- Gaps around windows, doors, siding seams, and exterior fixtures.
- Mildew, moss, algae, dirt buildup, and bird droppings.
- Rust on metal railings, fasteners, gutters, or decorative features.
- Water stains below the roof edges, gutters, and window sills.
Pay special attention to shaded walls and areas near sprinklers, landscaping, or roof runoff. These locations often stay damp longer and may need repairs or cleaning beyond a standard repaint.
How Weather Affects The Project
Good paint needs a clean, dry, stable surface to bond properly. Rain, high humidity, strong wind, direct sun, chilly temperatures, and overnight dew can all interfere with drying or adhesion. Check the forecast for the entire work window, not only the first day.
- Do not paint visibly damp surfaces or areas with trapped moisture.
- Follow the coating label for acceptable temperature, humidity, recoat, and cure conditions.
- Plan the work so that the hot direct sun does not cause the paint to dry too quickly.
- Allow enough time between coats, especially on shaded or slow-drying surfaces.
- Protect fresh paint from surprise rain, windblown dust, leaves, and insects.
The Surface Preparation Checklist
Preparation usually takes longer than painting, and that is appropriate. The paint film is only as dependable as the material underneath it. Start by washing surfaces using a method suited to the siding type, then allow everything to dry completely before proceeding.
- Remove dirt, mildew, and loose debris.
- Scrape and sand failing paint using safe dust-control practices.
- Replace or repair damaged siding, trim, boards, and hardware.
- Caulk appropriate gaps around joints and openings.
- Prime bare wood, repaired areas, rust-treated metal, and other surfaces that need added adhesion.
- Cover plants, windows, fixtures, walkways, and outdoor furniture.
- Test the planned coating system on a small, less visible area.
Historic homes deserve extra care because aggressive paint removal can damage older woodwork and distinctive details.
How To Choose Paint For Each Surface
Different exterior parts demand tailored paint prep and coatings. Wood siding requires flexible paint and priming, while fiber-cement must follow the manufacturer’s preparation instructions. Vinyl should be coated with compatible paint, keeping in mind that dark colors can increase heat absorption. Metal surfaces need rust removal and priming before painting. Trim and doors are best finished with washable coatings due to frequent touching and exposure to weather. For decks and fences, select from paint, solid stain, semi-transparent stain, or sealers based on the wood’s condition, moisture levels, and your maintenance preferences.
Simple Exterior Color Planning Tips
- View sample colors in morning, afternoon, and evening light.
- Test samples on both sides of the home.
- Consider fixed elements, such as roofing, brick, stone, paving, and landscape colors.
- Use trim strategically to define windows, doors, rooflines, and architectural details.
- Check the homeowners’ association or local historic district requirements before finalizing colors.
- Save the product name, color code, sheen, and batch information for touch-ups.
Safety Issues Homeowners Should Not Ignore
Ladder placement, stable footing, protective eyewear, gloves, dust control, and secure material storage should be part of every plan. Stop work when rain, wet surfaces, high winds, or poor visibility make the job unsafe.
Older Homes And Lead Paint
Homes built before 1978 may contain lead-based paint. Scraping, sanding, or cutting painted materials can create hazardous dust, so do not dry-sand suspected lead paint. Keep children and pets away from the work zone, contain debris, and use qualified help when required.
How To Build A Realistic Project Budget
A reliable budget considers more than the number of paint gallons. Cost can change based on square footage, number of stories, access, surface damage, washing, scraping, repairs, primer, specialty coatings, multiple colors, and protection for landscaping or hardscape. Decks, fences, detailed trim, doors, and window work can also add time.
When hiring help, request written estimates that identify preparation, repair allowances, coating products, labor, cleanup, and potential extra charges. Comparing the scope of work is more useful than comparing one bottom-line number.
When To DIY And When To Hire A Professional
DIY may be reasonable for a small, ground-level project with sound surfaces, limited preparation needs, and no suspected lead-paint concerns. Professional assistance often makes more sense for multi-story homes, difficult access, widespread peeling, substrate damage, multiple exterior materials, or work requiring firm scheduling and extensive containment.
How To Maintain An Exterior Paint Job
Inspect the exterior at least once a year. Clean away dirt and organic growth, keep gutters and downspouts flowing, repair failed caulk, and touch up exposed areas before moisture reaches the substrate. Record when the work was done and which products were used.
Paint life varies by preparation quality, surface material, product choice, color, sun exposure, and local weather. A durable exterior paint project begins long before the first brushstroke, then continues with routine maintenance that catches small issues before they become expensive repairs.
Conclusion
A durable exterior paint project starts with careful planning and continues through regular maintenance. By inspecting surfaces, making necessary repairs, choosing appropriate products, and painting under suitable conditions, homeowners can protect their investment and extend the life of their home’s exterior while maintaining its appearance and long-term performance.